
|
DIY tips or sealing a concrete floor How do you seal a concrete floor? Concrete flooring is an excellent choice for any home. Especially if you're looking for durability. However, longevity of the floor depends on sealing it correctly being that concrete is porous. Sealing a concrete floor is crucial to avoiding stains from substances such as water, oil, grease and other contaminants. Some other benefits of sealed floors, besides the beauty, is that they are easier to clean. To make sure that the sealer does its job the application process must be done perfectly. The steps that are done, from surface preparation to using the correct application tool will effect the final outcome. How to approach sealing a concrete floor Below is a summary of the steps for sealing a concrete floor
Cleaning the floor To avoid any inconveniences, you should move all of your furniture or other items out of the room. These items will need to be stored for less than a week. Once the room is cleared you will then thoroughly sweep the floor then make sure to double check if there is any remaining. It is recommended that you use mineral spirits to cleanse grease spills. After a visual check to make sure that the floor is clean you will then use concrete cleaner to prepare the floor for sealing. The next step is to rinse the cleaner off, and wait for the floor to dry. If you see any visible cracks you can use concrete repair caulk to fill them. Then you must wait for the concrete caulk to completely dry. Removing the old sealer If your concrete floor has an old sealant then you must wait before applying the new sealant. If you are unsure whether your floor already has a sealant on it or not, you can use water to test this. You do this by pouring one cup of water on the concrete, if the water does not soak into the concrete but instead remains on the surface then you will know that the concrete was previously sealed. If you have determined that there was previously a sealer on the concrete floor and you will use a chemical stripper to remove it. Chemical strippers are acid based so be sure to protect yourself when using it. After using the stripper you will have to let the floor dry for a minimum of 24 hours. Using a sealer There are four types of sealers to choose from: -Epoxy sealer Epoxy sealer are more durable than acrylic sealers because it sits on top of the concrete. Epoxy sealer will protect the concrete floor against stains from grease but they are also difficult to apply. There are also a wide variety of colors and looks you can choose from with this type of sealant. -Acrylic sealers This sealer is typically used for interior floors and are very easy to apply but they do not effectively protect the floor from Grease or oil stains. -Polyurethane sealers This type of sealant is mainly used over other types of sealers. Polyurethane sealant offers UV protection which will prevent the concrete from turning yellow over time. This is usually applied in a thin layer that sits on top of the concrete -Silane sealers You can utilize this type of sealant if you do not want to change the look of your concrete floor. Since this sealer penetrates the concrete, it will not change the gloss or tone of the concrete. The floor will remain that matte gray color we have come to know. Silane sealers are known to last 20 years or more and will protect the floor from deterioration and staining. Applying the sealant
Sealing your concrete floors is the perfect way to increase the lifespan of the floor while also increasing its beauty. The best part is that you can easily seal your floor as a DIY project but it's this is something out of your realm then you should hire an expert! We will seal your floor for you call today! Elk Grove Concrete Solutions Click to call 916-318-5633 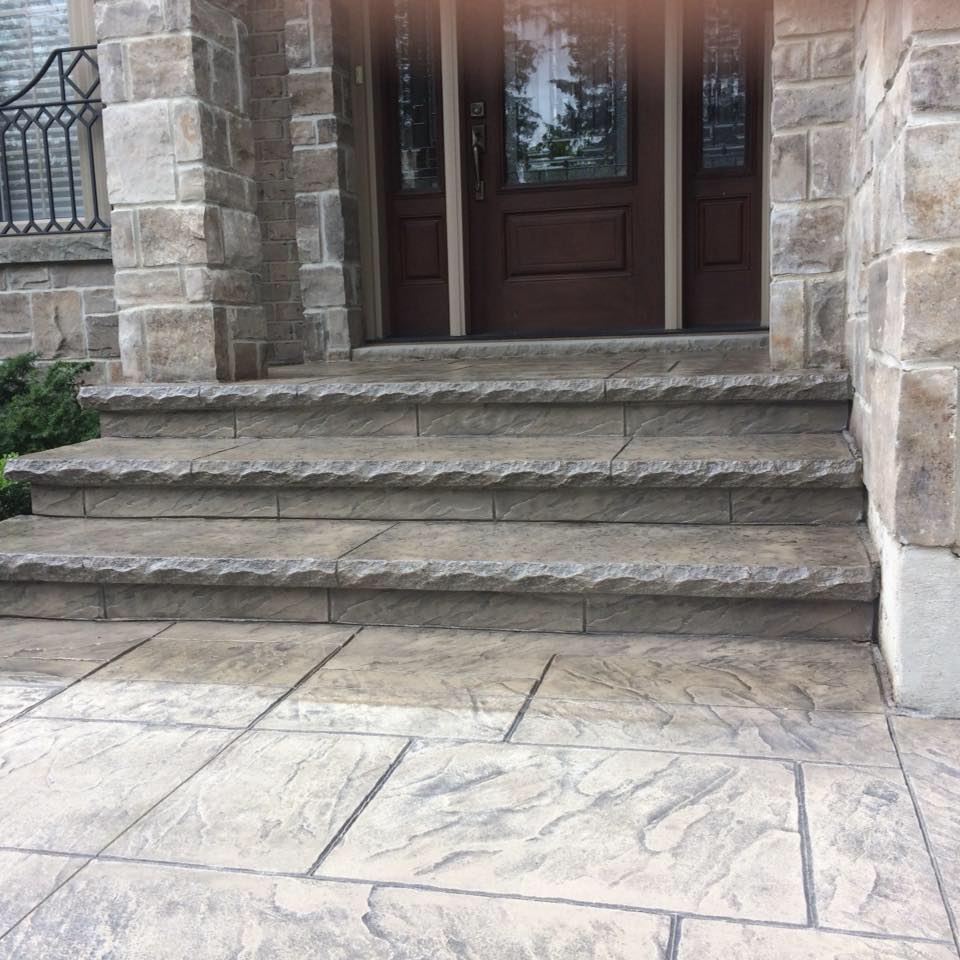 Comments are closed.
|
ArchivesCategory |
 RSS Feed
